- Published on
Envelope Encryption: Boosting Cloud Security with KMS
- Authors

- Name
- Ted
- @supasaf
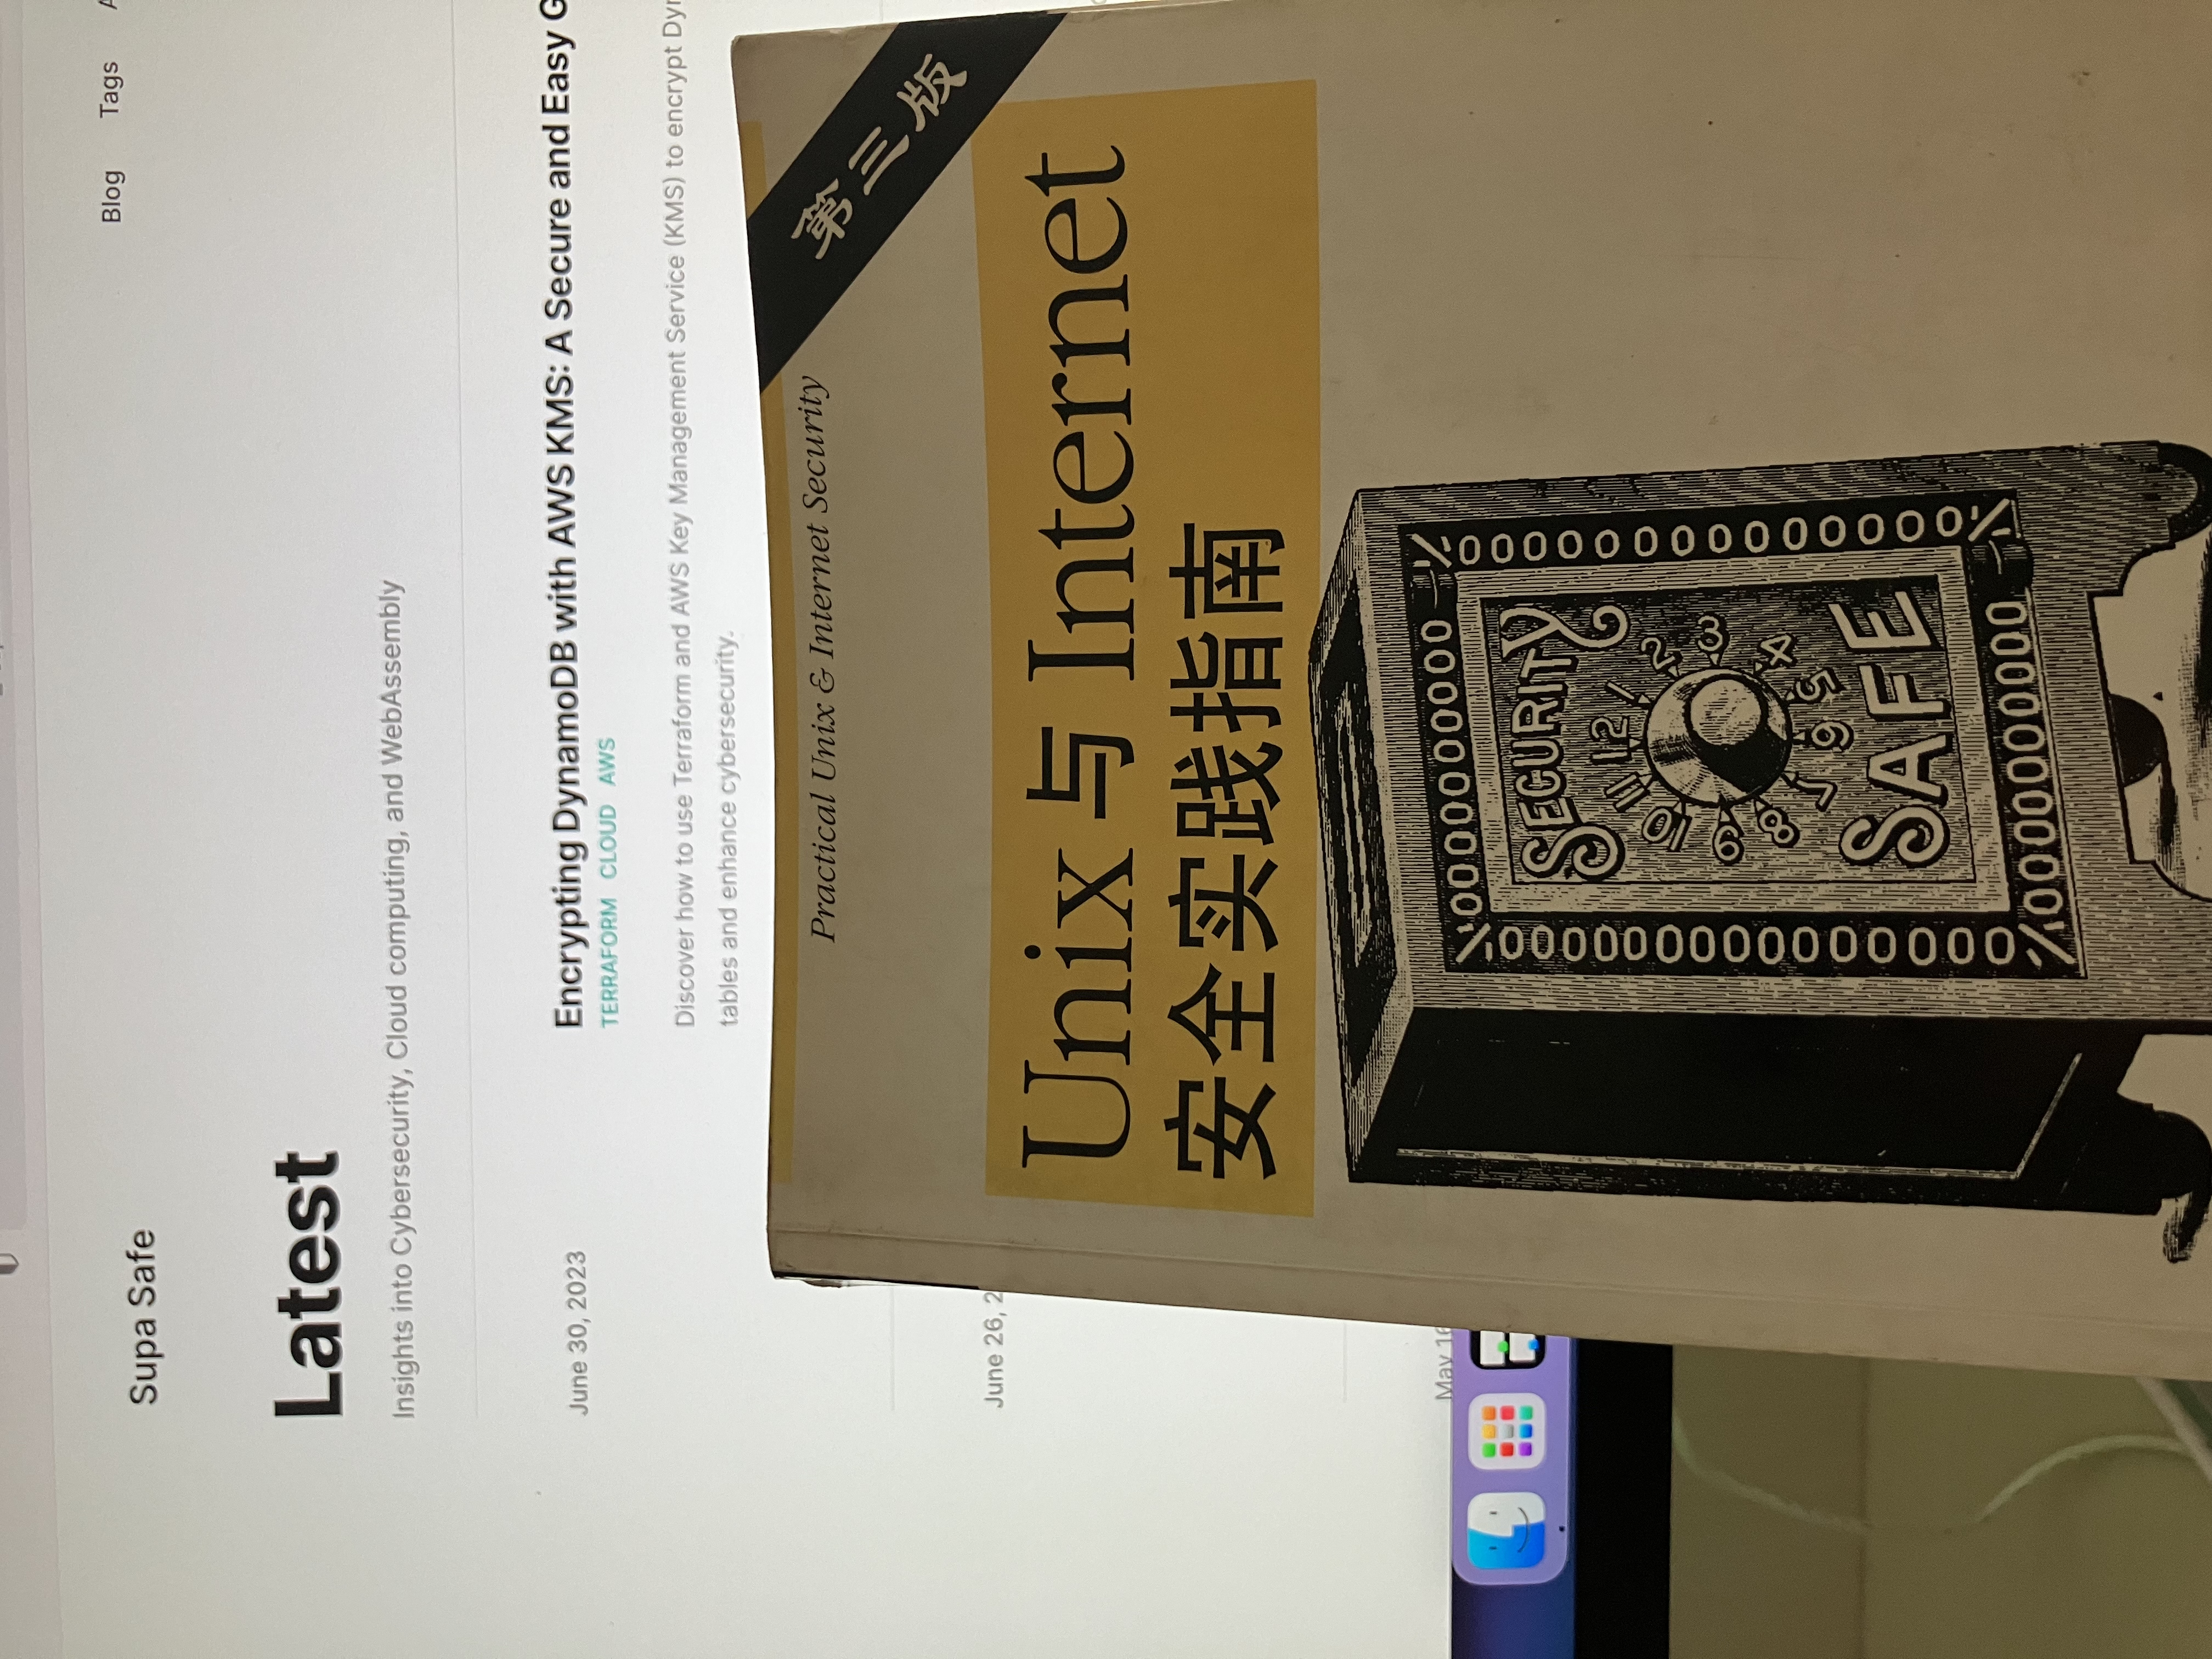
Way back in the dial-up era, long before the cloud was even a twinkle in a developer's eye, I was reading this legendary tome: 'Practical Unix & Internet Security'. It was dense, it was epic, and it taught me that cryptography was basically the secret magic that holds the entire internet together.
Fast forward to today, and guess what? That ancient magic is more important than ever. In the cloud, we're constantly shuffling data around, and we need a rock-solid way to keep it safe. One of the most clever spells in the modern wizard's book is Envelope Encryption.
What the Heck is Envelope Encryption? A Silly Analogy
Okay, the name sounds fancy, but the concept is simple. Imagine this:
- You have a very long, secret letter you want to protect (this is your data).
- You lock it in a sturdy metal box using a simple, everyday key. This key is fast and efficient for locking big boxes. (This is your Data Key).
- Now you have a problem: what do you do with the key to the box? You can't just tape it to the lid!
- So, you take that small, simple key and lock it inside a tiny, nearly-indestructible safe. This safe requires a huge, complex, one-of-a-kind key to open it. (This is your Master Key from KMS).
- Finally, you take the tiny, locked safe (the encrypted data key) and glue it to the outside of the big metal box (your encrypted data). This tiny safe is the "envelope."
That's it! You get the best of both worlds: the speed of a simple key for your big data, and the super-high security of a master key for protecting that simple key. The master key itself never even touches your data.
Let's Do It for Real with AWS KMS
Let's put the analogy into practice. We'll use AWS KMS as our master locksmith and the command-line tool OpenSSL to handle the actual file locking.
Step 1: Generate the Keys
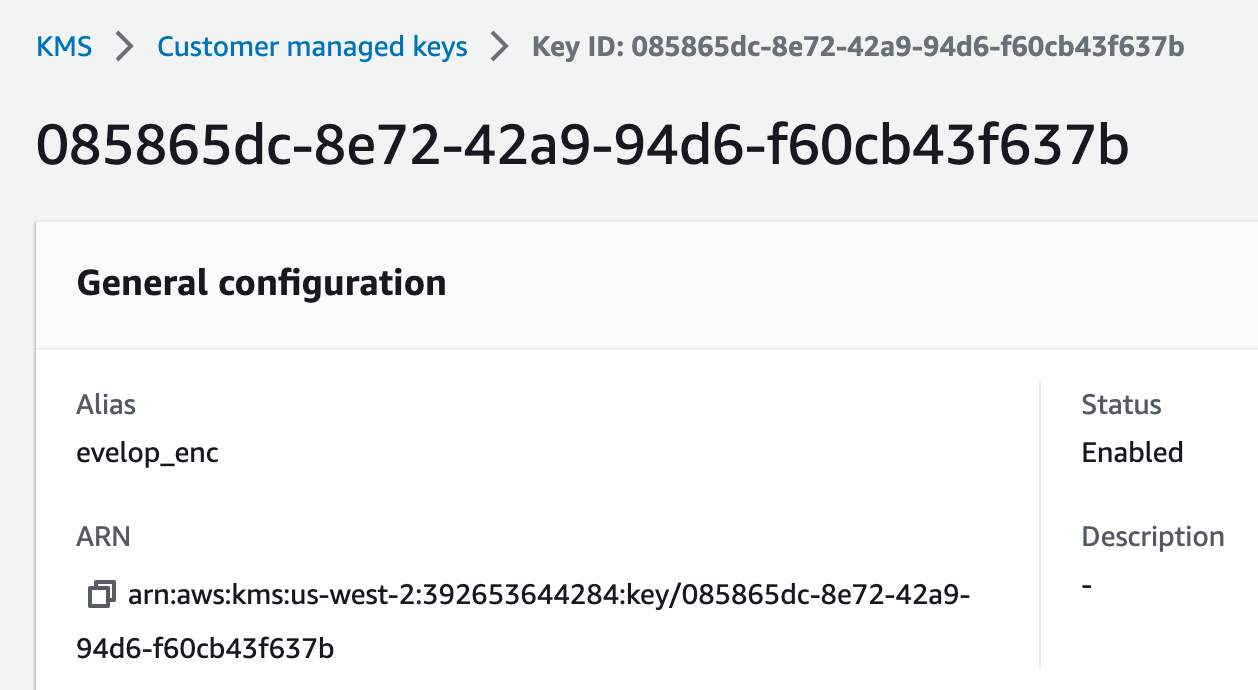
First, we ask our master locksmith (KMS) to create our key set. We need to give it the ID of our master key, which is the big, complex key that never leaves the KMS vault.
aws kms generate-data-key --key-id 085865dc-8e72-42a9-94d6-f60cb43f637b --key-spec AES_256
Make sure you've already created a master key in your KMS console to get an ID like this.
KMS will hand you back two important things:
{
  "CiphertextBlob": "AQIDAHgp3upyUvXfYTtaE+GSFfzK5pkL/Jc37eipuMi8fqwifwGrgrzt+nBcuzgUefb0Tr7gAAAAfjB8BgkqhkiG9w0BBwagbzBtAgEAMGgGCSqGSIb3DQEHATAeBglghkgBZQMEAS4wEQQMY626nlBe9k1ZWwoMAgEQgDuvQdZS/mBKVl0cF35ht7iq4WTz1ZlOW/kBARrndF7RHSxU3Kvc7+0PSpcJ28wcmeicvfxdzEs8R681kQ==",
  "Plaintext": "4iP4KiWfyMT43I6VnlmbTXB59ZaWp5U6ZOwCeOKFTOE=",
  "KeyId": "arn:aws:kms:us-west-2:392653644284:key/085865dc-8e72-42a9-94d6-f60cb43f637b"
}
Plaintext: This is the simple, everyday key for our big metal box. We'll use this to encrypt our file.CiphertextBlob: This is the tiny, indestructible safe with our simple key locked inside. This is the "envelope" itself.
Step 2: Lock the File
First, let's save our tiny safe (the encrypted key) to a file.
echo <CiphertextBlob> | base64 -d > enc_data_key.bin
(Just copy the big string of gibberish from the CiphertextBlob field and paste it where <CiphertextBlob> is).
Now, we use the simple key (Plaintext) to encrypt our actual secret file using OpenSSL.
openssl enc -aes-256-cbc -pbkdf2 -in secret_file.txt -out encrypted_secret_file.txt -pass pass:<Plaintext>
(Again, just copy the Plaintext value. And yes, you might need to install OpenSSL if you're on a Mac: brew install openssl).
At this point, you can safely delete the plaintext key from your memory. All you need to store is the encrypted_secret_file.txt and the enc_data_key.bin (our tiny safe).
Step 3: The Unlocking Process
To get our secret back, we just do everything in reverse.
First, we ask the master locksmith (KMS) to unlock our tiny safe.
aws kms decrypt --ciphertext-blob fileb://enc_data_key.bin
KMS will use the master key to open it and give us back the simple Plaintext key.
{
  "KeyId": "arn:aws:kms:us-west-2:392653644284:key/085865dc-8e72-42a9-94d6-f60cb43f637b",
  "Plaintext": "4iP4KiWfyMT43I6VnlmbTXB59ZaWp5U6ZOwCeOKFTOE=",
  "EncryptionAlgorithm": "SYMMETRIC_DEFAULT"
}
Finally, we use that decrypted Plaintext key to unlock our big file.
openssl enc -d -aes-256-cbc -pbkdf2 -in encrypted_secret_file.txt -out decrypted_secret_file.txt -pass pass:<Plaintext>
And just like that, decrypted_secret_file.txt appears, and our secret letter is readable again!
The "Aha!" Moment: This Is Everywhere!
Now, you might be thinking, "Cool trick, Ted, but that's a lot of command-line work." But here's the kicker: you've been using this pattern all along without even knowing it!
Recently at work, I was digging into how Kubernetes handles its secrets. When you enable encryption for secrets at rest, guess what technology it uses under the hood? Envelope encryption! Kubernetes encrypts your secrets with a data key, and then it encrypts that data key with a master key from a provider like AWS KMS. The encrypted secrets and the encrypted data key are then stored safely in etcd.
It was a real "aha!" moment for me. As the old saying goes, 功不唐捐 (gōng bù táng juān)—no effort is ever truly wasted. Learning these fundamental security concepts pays off in the most unexpected places.